
How to use the CRM section
The CRM feature can be used to work with all existing clients and their requests. In this session, you will find tabs called Clients, Deals, and Tasks.
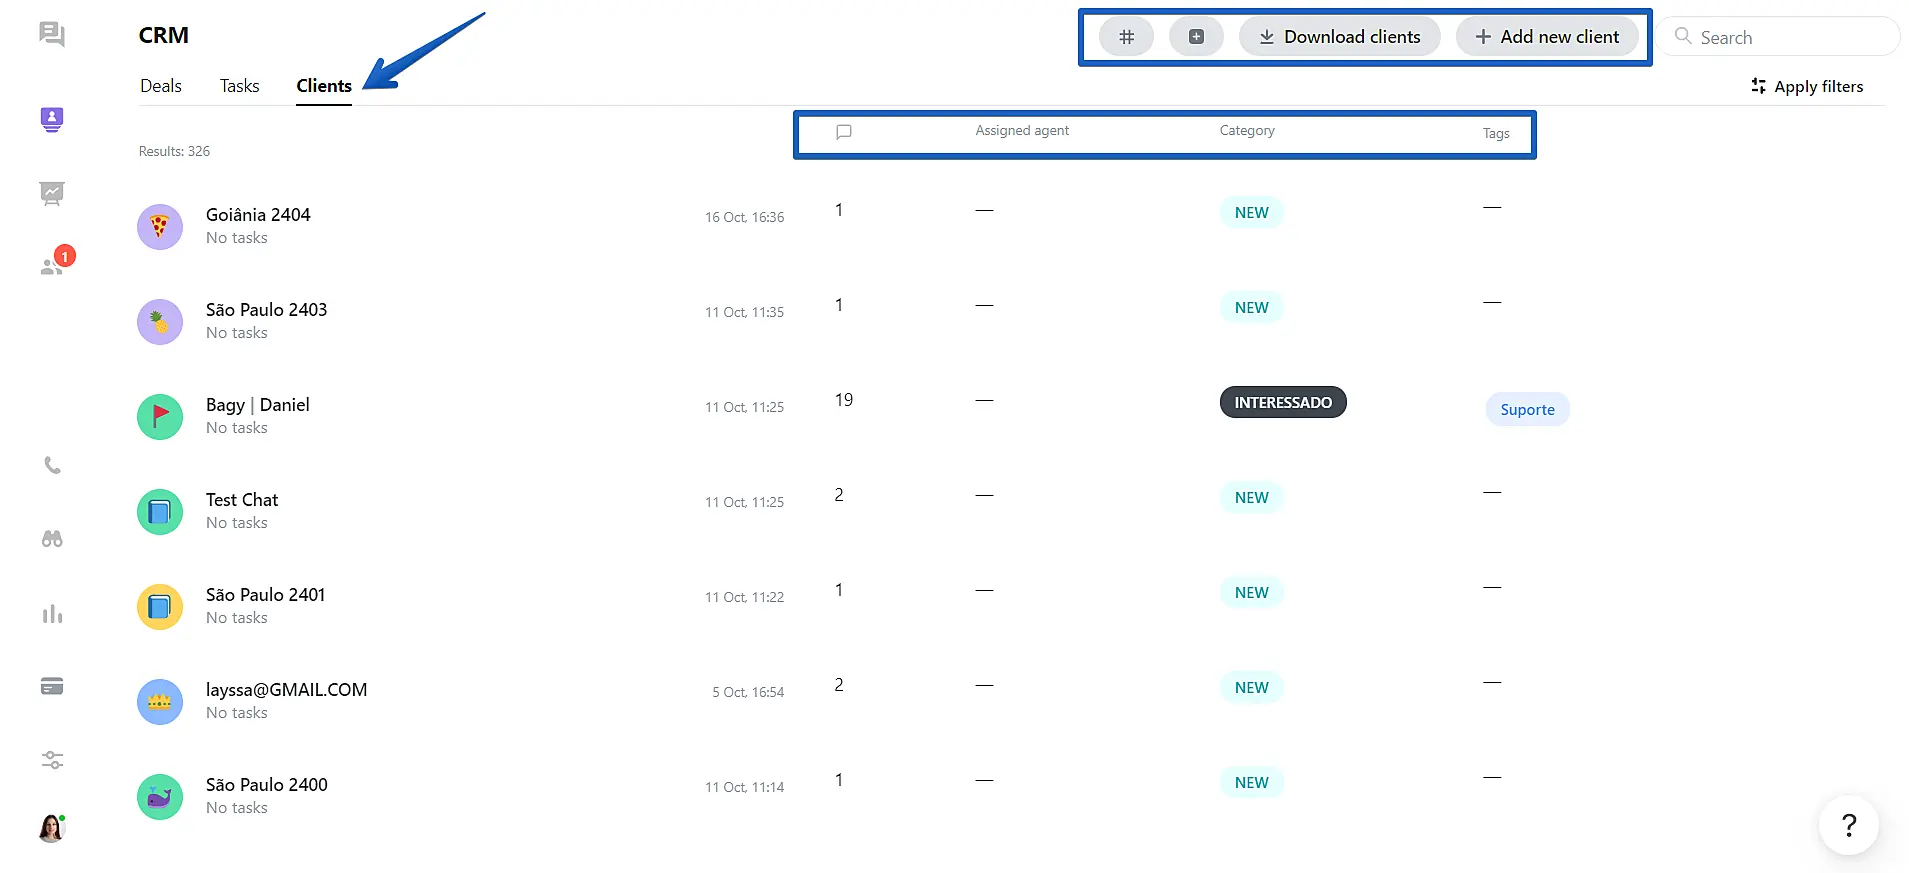
In the Clients tab, you will find the list of customers you have talked to through JivoChat. You will have access to the complete conversation history with each customer and some statistical data such as the total number of conversations, the assigned agent, the status and the tags added to each of them. Just like in "Contact Center ->All" tab, filters and the search function are also available here. Additionally, you can manually add new customers, import clients and download the data of existing customers.
The process of adding new customers is very simple:
-
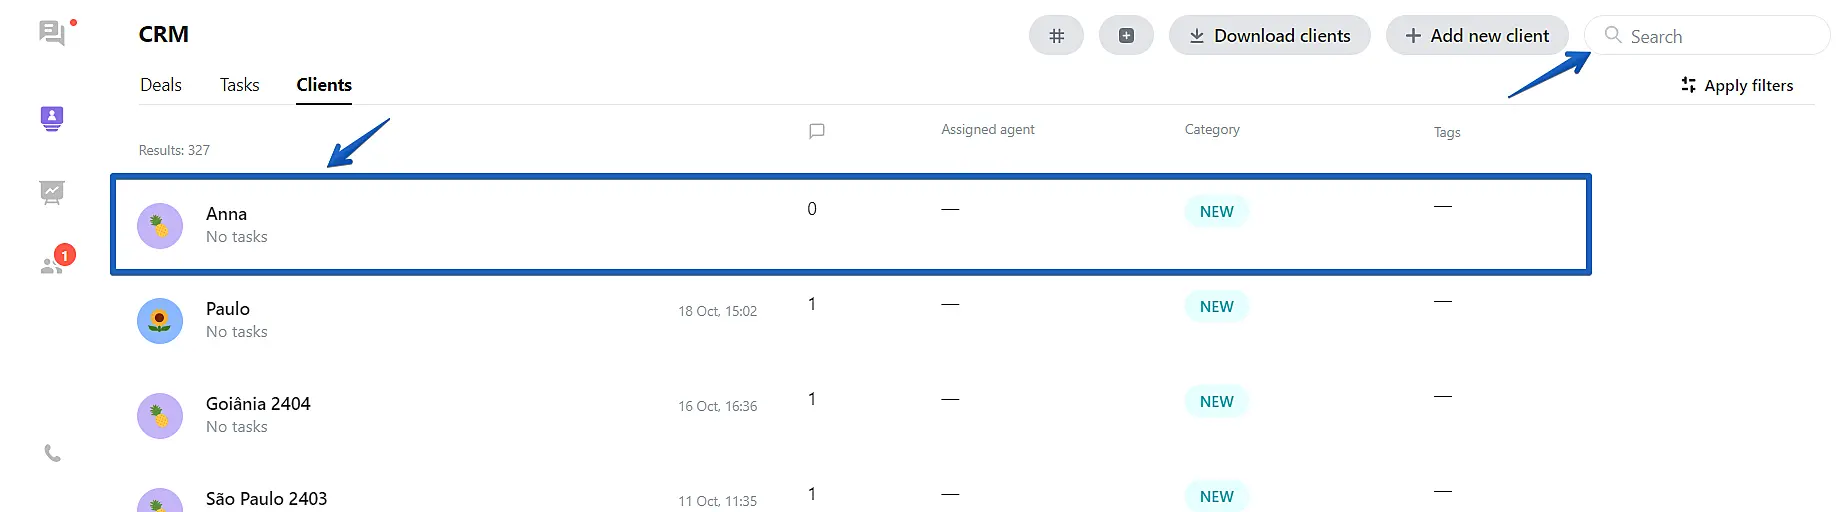
Click 'Add New Client'

-
Enter the customer's data and click 'Add Customer'

-
The newly added customer can now be found through the search option and will also appear at the top of the Customers list after a few seconds
You can manually edit the customer's contact information if necessary. To do this, access the conversation and click on the customer's name to edit it.
By clicking on the customer's phone number or email, a list will appear with possible additional actions. Click on 'Edit' button to make the necessary adjustments to the customer's contact information.
You can also send emails by selecting the desired input option, even if the customer is not on your website.

Just like in any CRM, it is very important to keep everything organized and well controlled when working with customers. To do this, you can use features like Tags.
By using tags, you can easily segment customers based on criteria/characteristics and organize your database. Create your own set of tags to discover which questions/complaints are most frequently sent by your customers, the percentage of goals achieved, and more. Understand their needs using JivoChat's features! Tags are extremely useful when analyzing conversations - download the list of existing customers with a specific tag or set of tags and study their details.
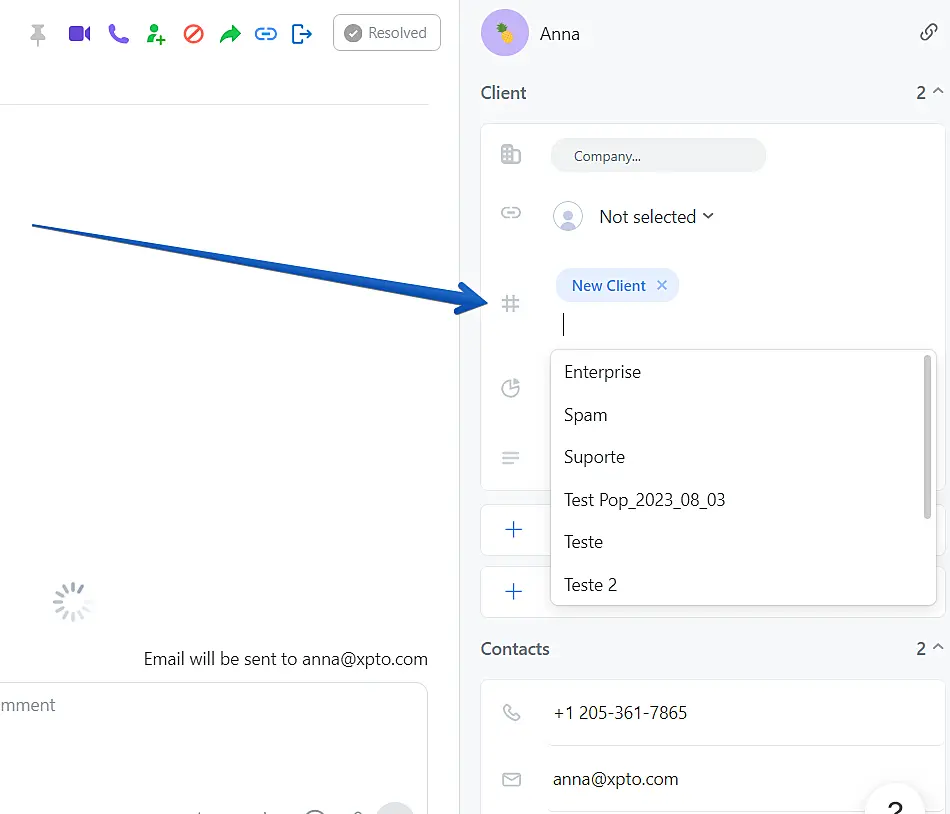
To add a new tag, simply click on the tags field in the chat panel and add the desired tag. You can add as many tags as you like to each customer. If you no longer need a specific tag, you can completely remove it from the system. To do this, filter customers who are using the tag and remove the tag from each of them.
When a tag is no longer being used by any existing customer, it is automatically removed from the system.
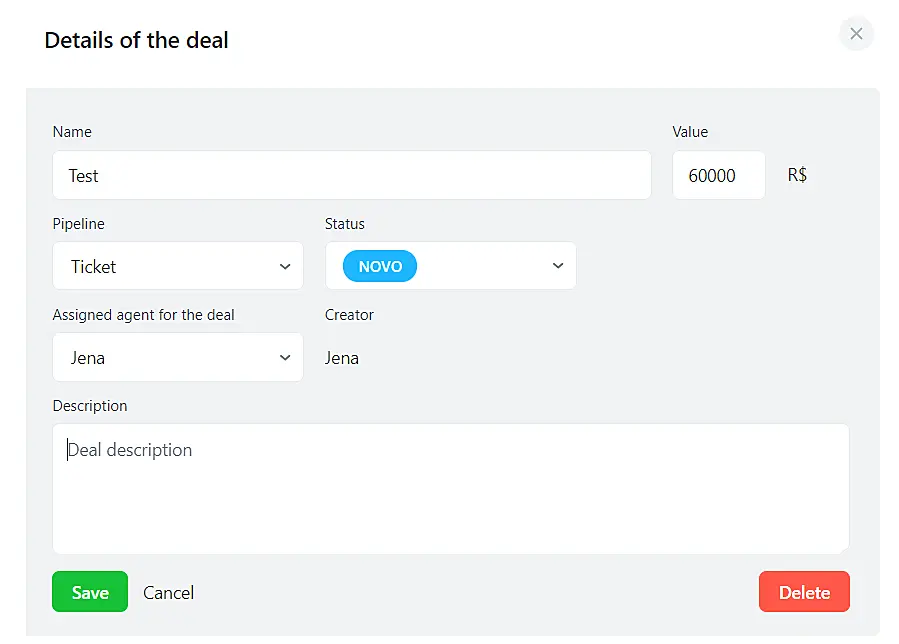
In the "Deals" tab, you can create transactions with any customer you desire and establish a sales pipeline to track each of them over time. Within each transaction, you will input information such as the Name, Value, which pipeline this customer belongs to, the customer's status, the operator responsible for the specific transaction, and finally, a comment.
In the article "How to use Deals feature" we teach you how to use a sales pipeline or even create your own, according to your needs.
In the "Tasks" tab, you will have access to all the tasks created within each conversation with each customer.

For this feature, we have a specific article that explains in detail how it works. Please visit 'How to use the Task feature' for more information.
Please note that account administrators can see tasks from all operators, while operators without admin rights can only see tasks assigned to them.

