How to Configure the Integrated Chatbot in Your Account
If you have integrated a chatbot into your JivoChat account, this article will help you configure your extension. We will explain how to: choose the channels it will attend to, change the profile picture, name, and title.
How to link or unlink the chatbot from a channel
-
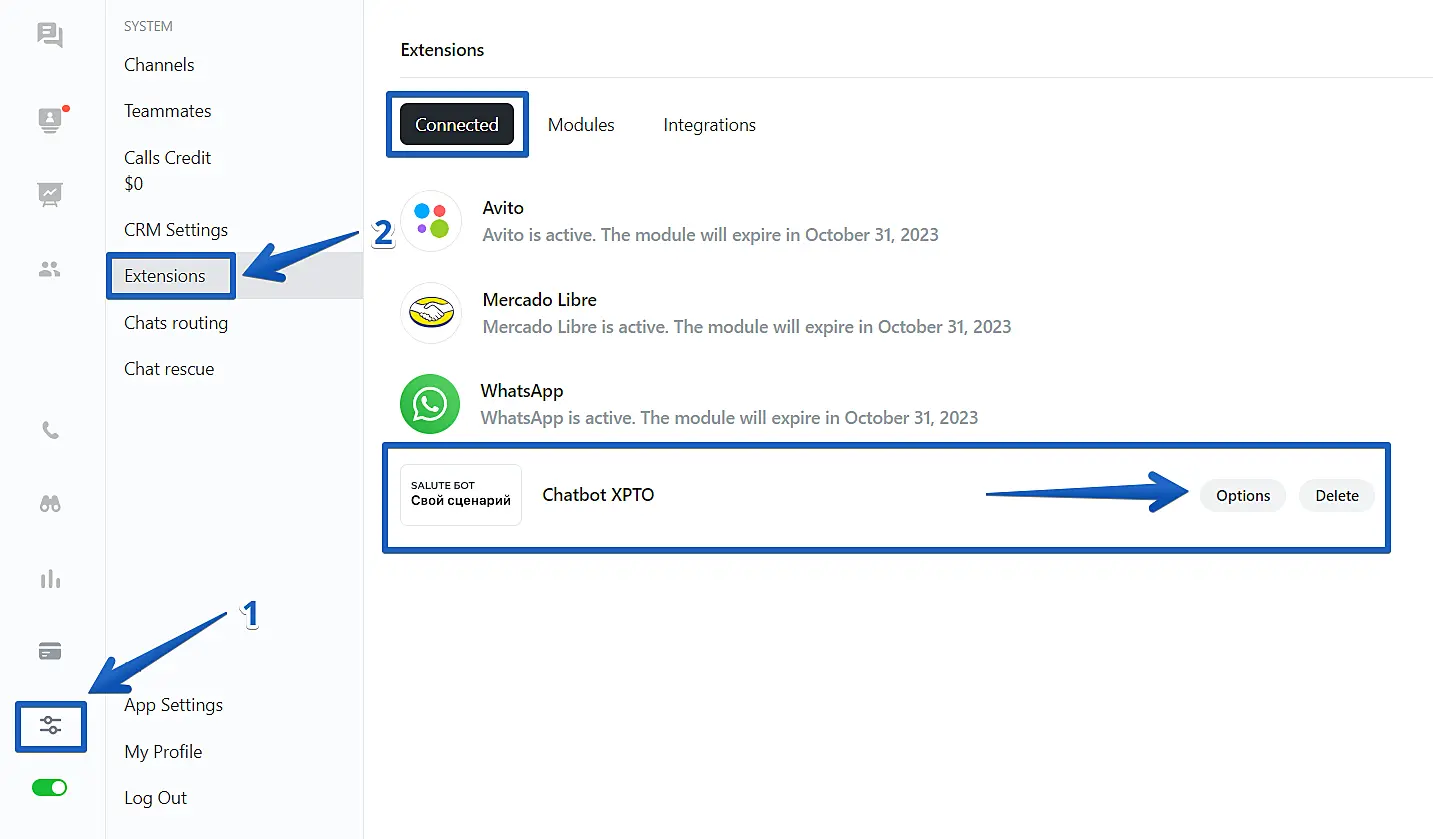
Start by opening the JivoChat application or website, then navigate to the Manage menu located in the bottom left corner.
-
Within the Manage menu, look for the "Extensions" option and click on it.
-
In the 'Connected' tab, identify your chatbot extension and select "Options"
-
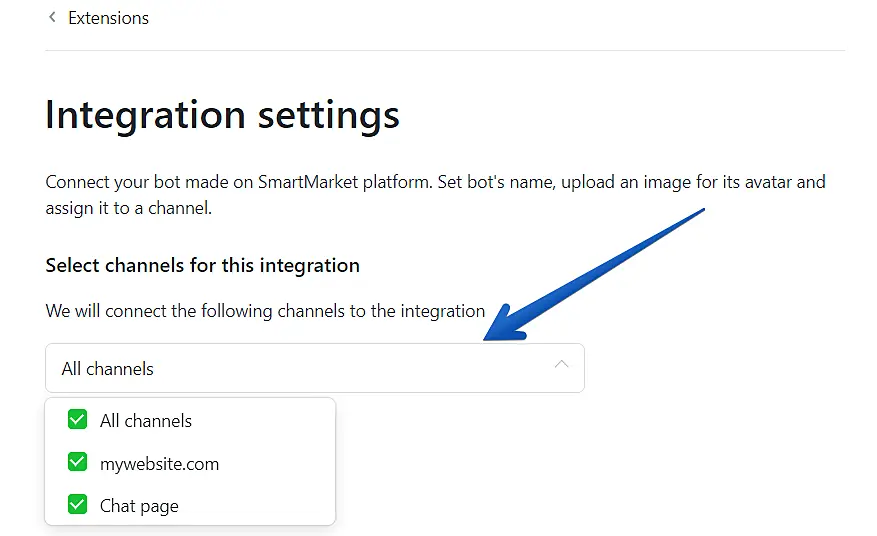
In "Integration Settings," you will find the option "Select channels for this integration."
-
Choose "All channels" or select the specific channels where the chatbot should operate.
-
Don't forget to click "Save" at the bottom of the page.
How to change the chatbot's profile picture, name, and title#
-
After configuring which channels your chatbot will attend to, proceed to "Integration Settings."
-
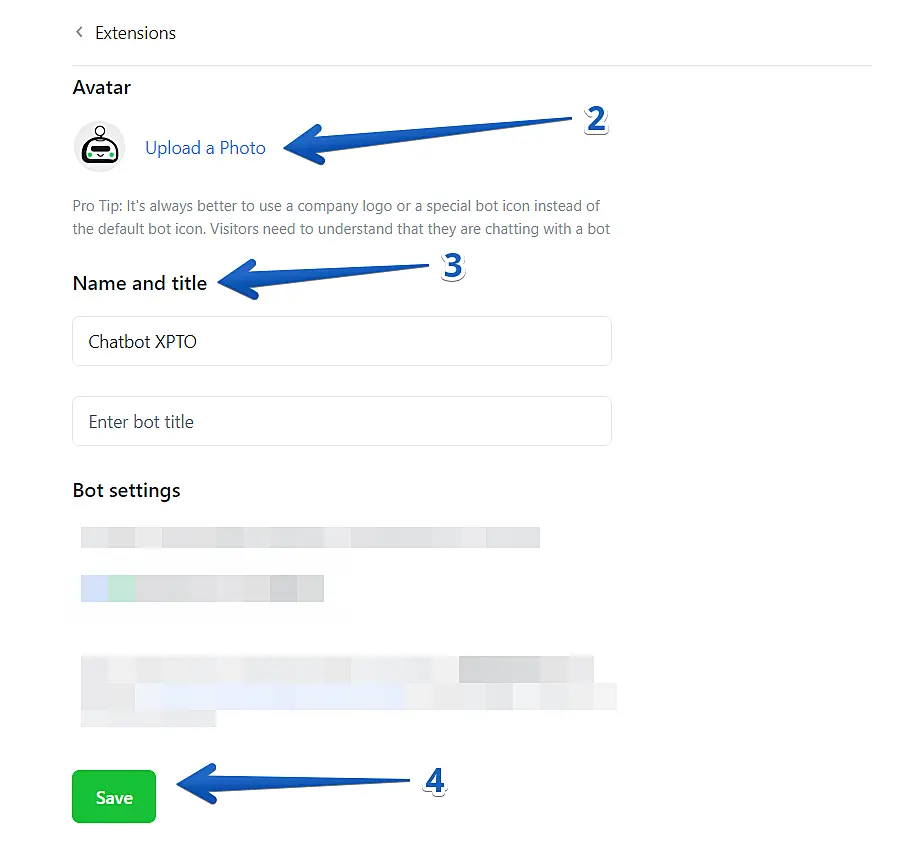
Under "Avatar," you can keep the default image or upload an image of your choice.
-
Just below "Avatar," you'll find the "Name and title" options, where you can set your chatbot's name and title (e.g. assistant).
-
All set! Don't forget to click "Save" at the bottom of the page.