
How to add and use template messages using WhatsApp API
In the following tutorial, we will show you two ways on how to create and add message templates to use them in JivoChat when connecting WhatsApp via API:
⚠ Meta will charge you for sending any template, so you need to link a payment method to your account
NOTE: WhatsApp message templates are specific message formats that businesses use to send notifications or customer service messages to people who have opted in to receive those notifications. Messages can include appointment reminders, shipping information, troubleshooting, or payment updates. Keep in mind that these messages are necessary to communicate with your customers after the 24-hour window that WhatsApp offers for active contact.
How to create a template message in JivoChat
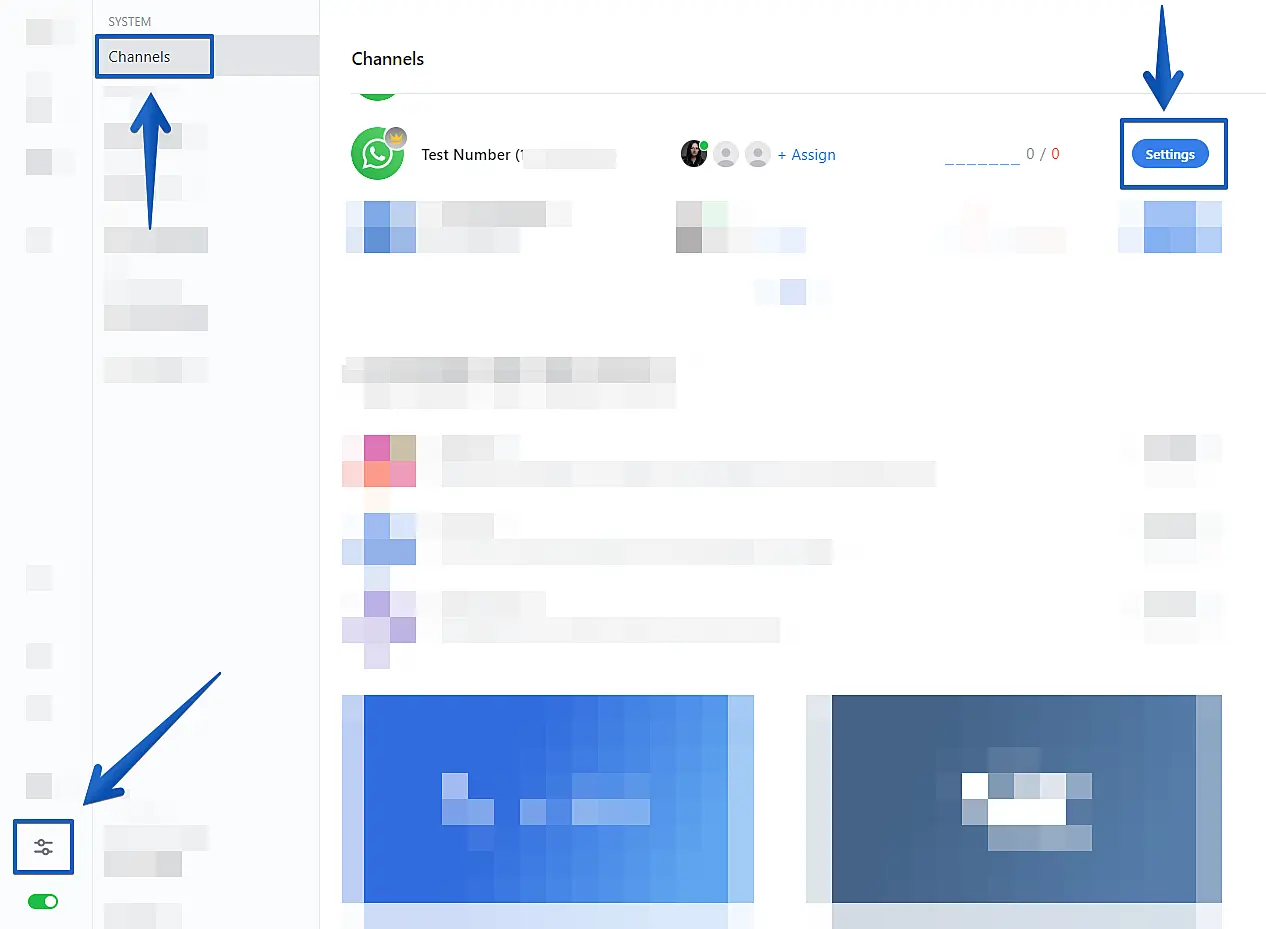
Log in to your JivoChat app -> Click on "Manage" -> "Channels" -> Locate your WhatsApp channel and click on "Settings" (in blue)
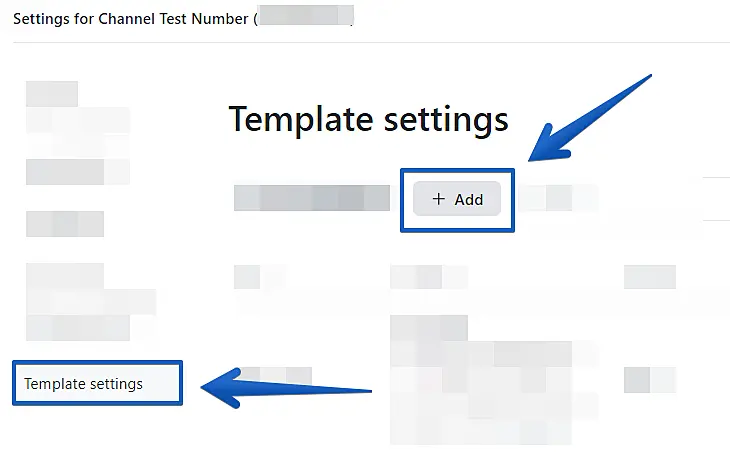
Then click "Template Settings" -> "+Add"
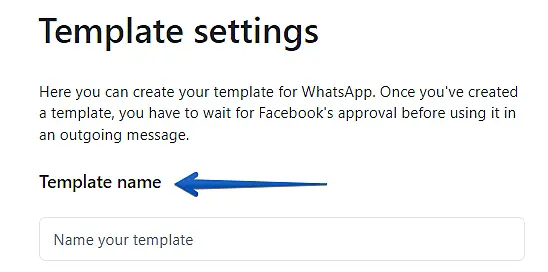
Under "Template name", enter the name you will assign to the message.
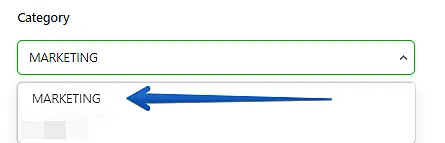
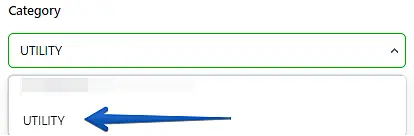
Under "Category", you can choose between two categories:
-
Marketing: These templates may contain promotions or offers, welcome and farewell messages, updates, invitations or recommendations, or requests to respond or complete a new transaction.
See Meta definitions and examples clicking here
-
Utility: Utility models are related to specific previously authorized transactions and must confirm, suspend or change a transaction or subscription.
See Meta definitions and examples clicking here
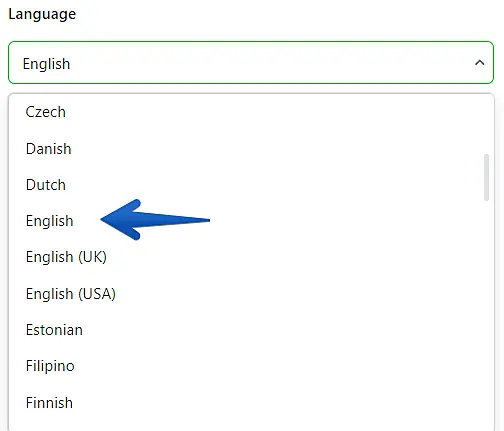
Under "Language", choose the language for your template message

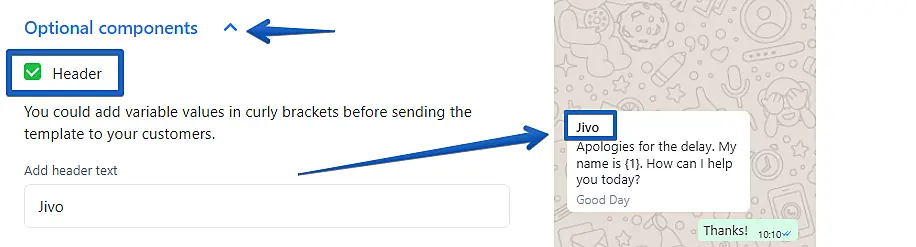
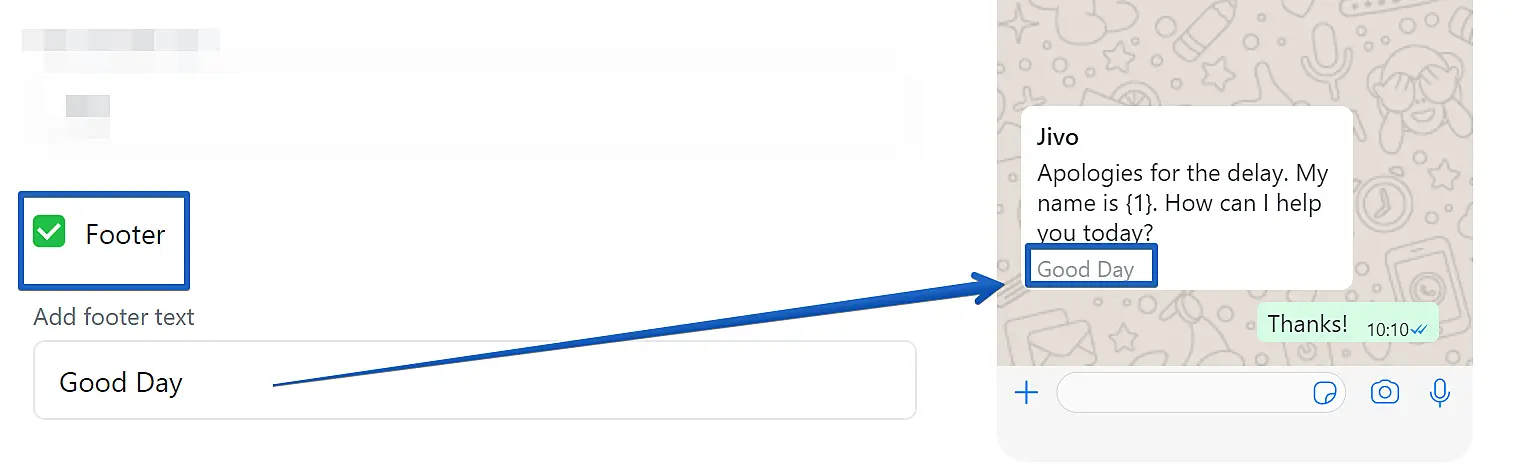
The first is "Header", where you can enter an identifying name or name that is part of your service strategy
If you choose the recommended category, the template status will be set to Pending. The model will go through the analysis process.
- If the category is approved, the template status will be set to Active – Pending Quality.
- If it is not approved, it will have the status of Rejected, and you will have to correct it according to the aligned category.
How to create a template message in Meta
To get started you must log in to your Meta business account in the WhatsApp section, to make it easier you can enter from this DIRECT LINK
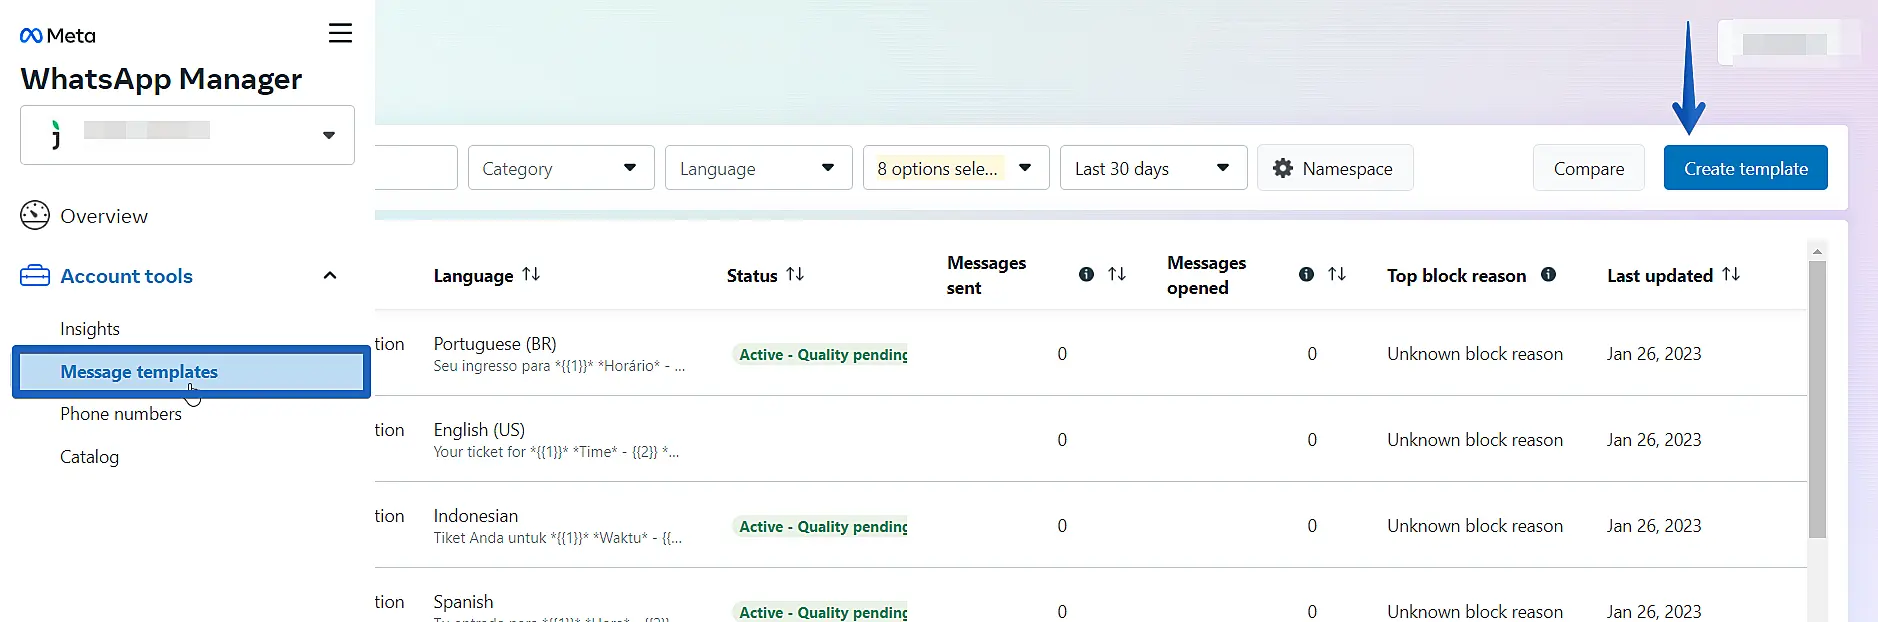
Or go to WhatsApp Manager -> Account tools -> Template messages and click on "Create Template":
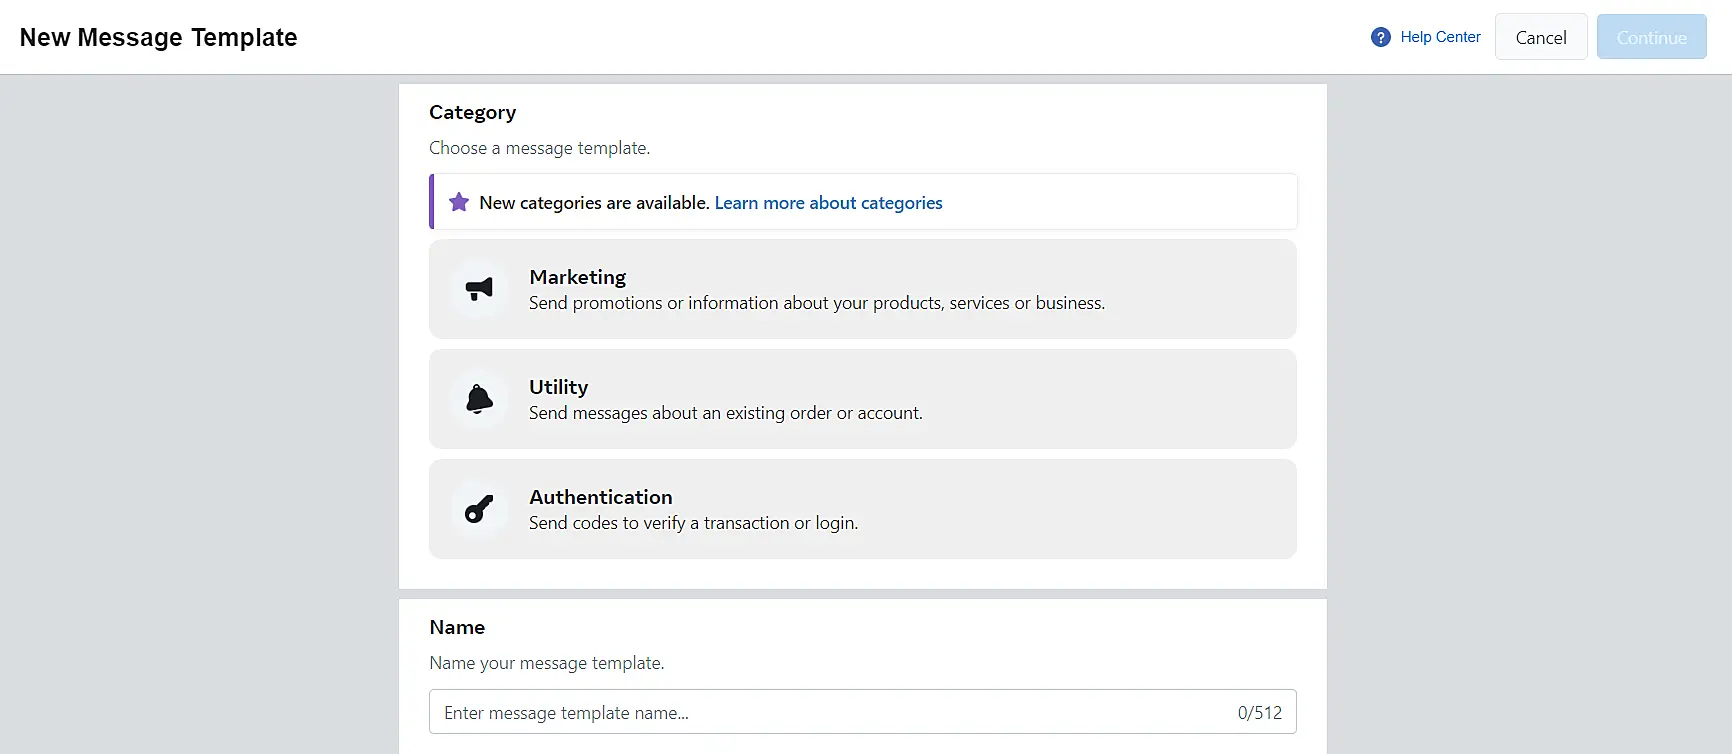
Now in the next menu you must select a category for your message. You can select one, a language and a title. If your language does not appear you just have to search manually.
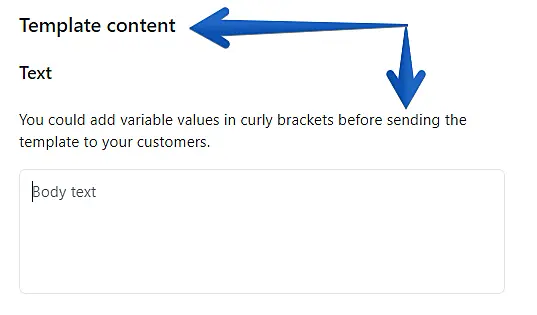
Then you only have to add the text or attachment you want to add. Select the format, add buttons or anything you want, you will see the preview result on the right side:

After adding it you will see it displayed in the main list and you must wait until it is approved by Meta and has a green icon indicating that it has been approved. If it was not approved you should review the format and submit it again.

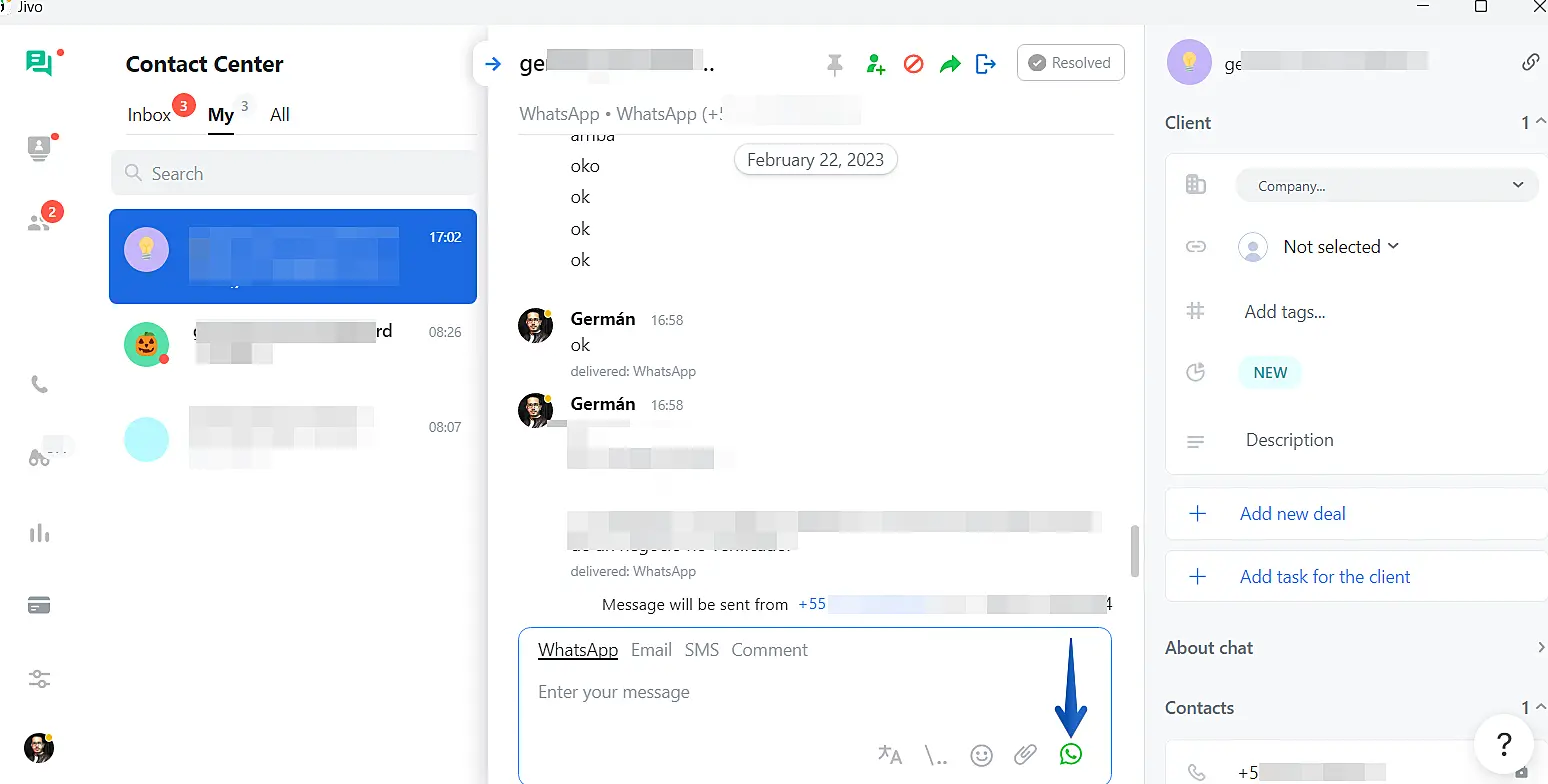
Now, template messages from the JivoChat side will be automatically displayed in the menu to be sent once they have been approved in your meta profile. During a conversation go to the WhatsApp icon located at the lower right side of the chat in the desktop app:
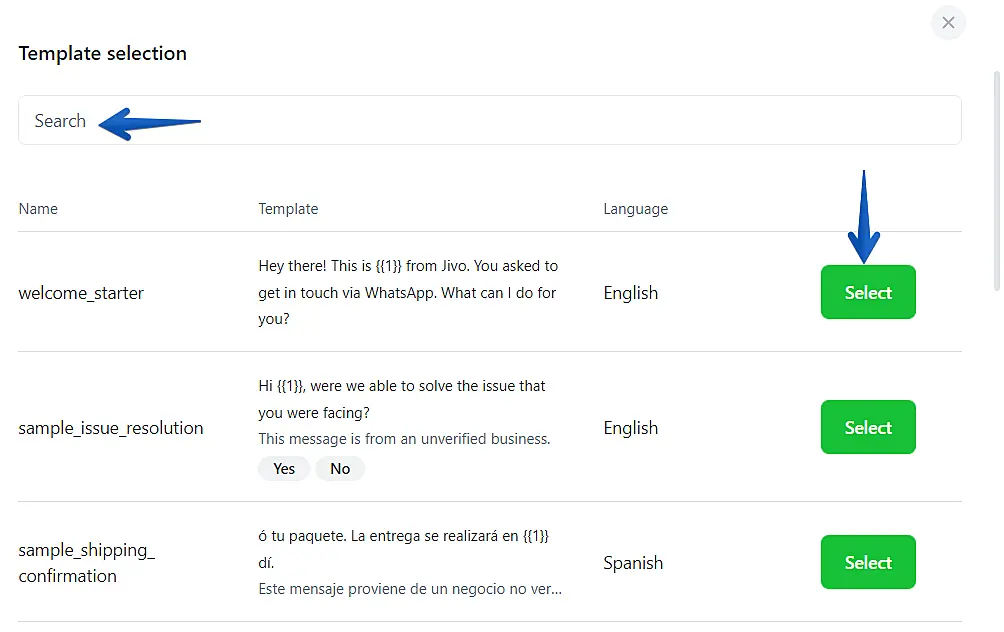
Now you will see the list of all your approved messages, you can manually search or just click on the green button to select one:
In this final step, just replace the value with the one needed and click on the green button to send the message:
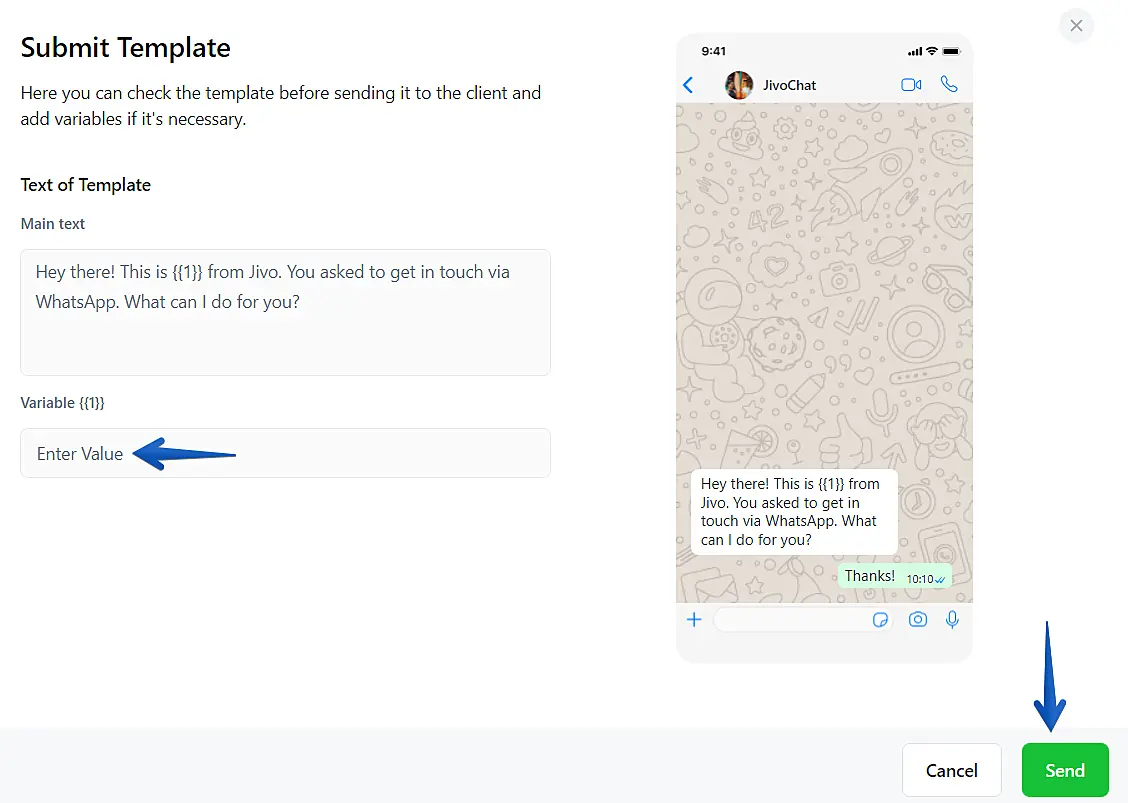
That is all, now you will be able to get in touch with customers after the allowed window(24h) by WhatsApp.
You can also check your templates status from JivoChat. In JivoChat we will show if the templates was approved or rejected.
Please go to "manage" -> "channels" -> "settings from your whatsapp channel" -> and then go to "template settings":
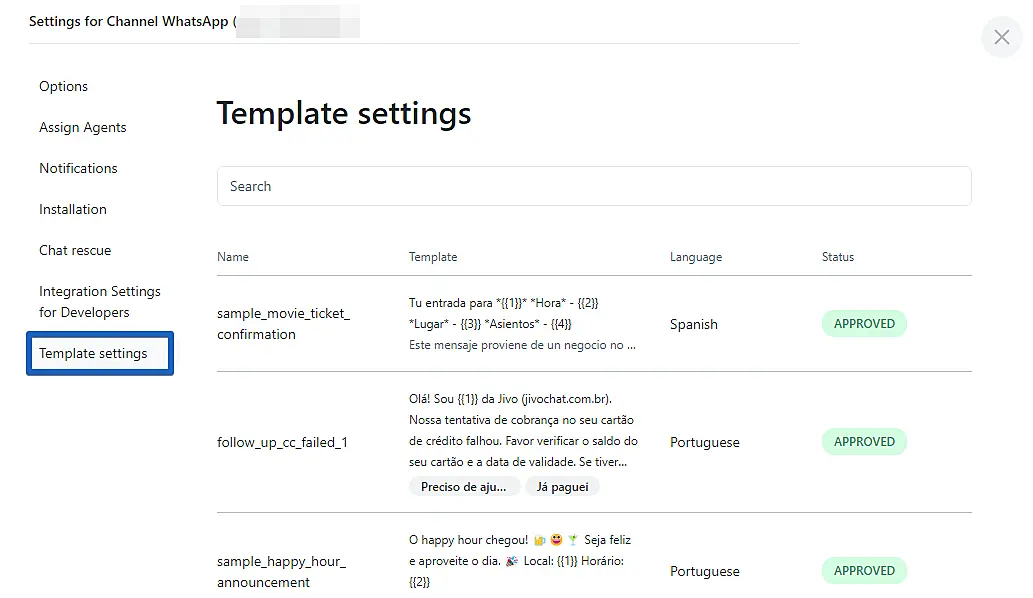
In this menu you can see the current status of your templates without the need to login into your Meta account.
That is all!
Happy chats!

