
How to install the chat code on SITE123
To install JivoChat on your SITE123 website, please follow the steps below:
1. Access your SITE123 admin panel and go to Settings -> Plugins and Custom Code.

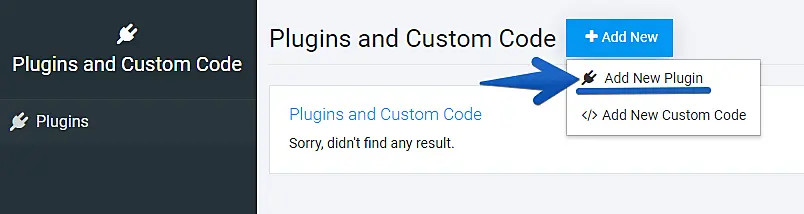
2. Click Add New -> Add New Plugin.
3. Go to Live Support Chat and click to Add the JivoChat plugin.

4. In this step, you'll need to insert your Application Id from JivoChat, also called "Widget ID". Your ID can be found inside the installation code of our chat.
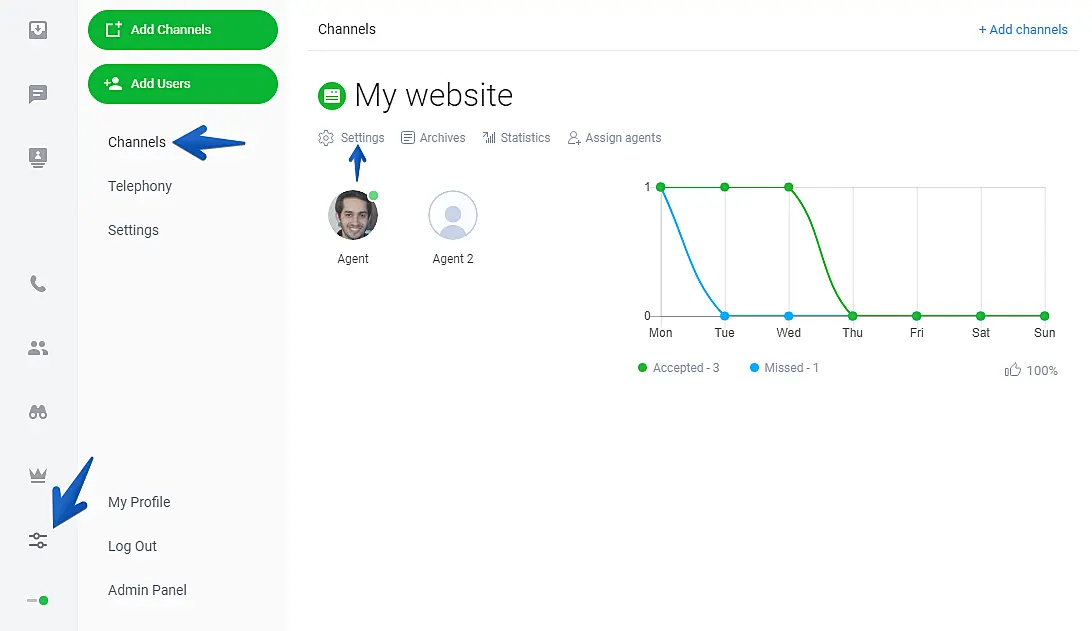
The JivoChat installation code is available in the JivoChat web app or one of our Desktop apps, in the Installation section: Manage -> Channels -> Settings (below your website name) -> Installation. Click here to check our tutorial if you can't find the installation code in your JivoChat account.
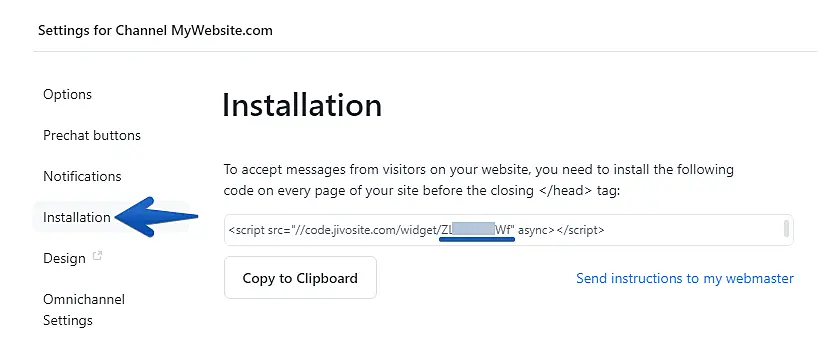
After locating your installation code, copy the underlined (without the quotation marks) part of the code pointed below:
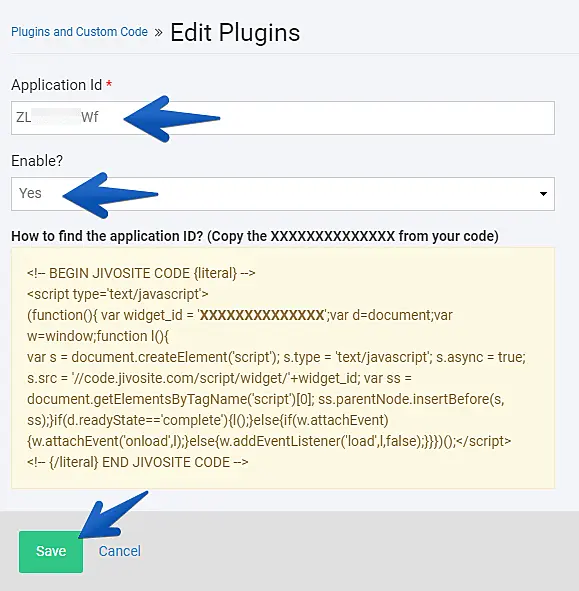
5. With your widget ID in hands, return to the SITE123 panel, paste the ID on the indicated field and click to Save.
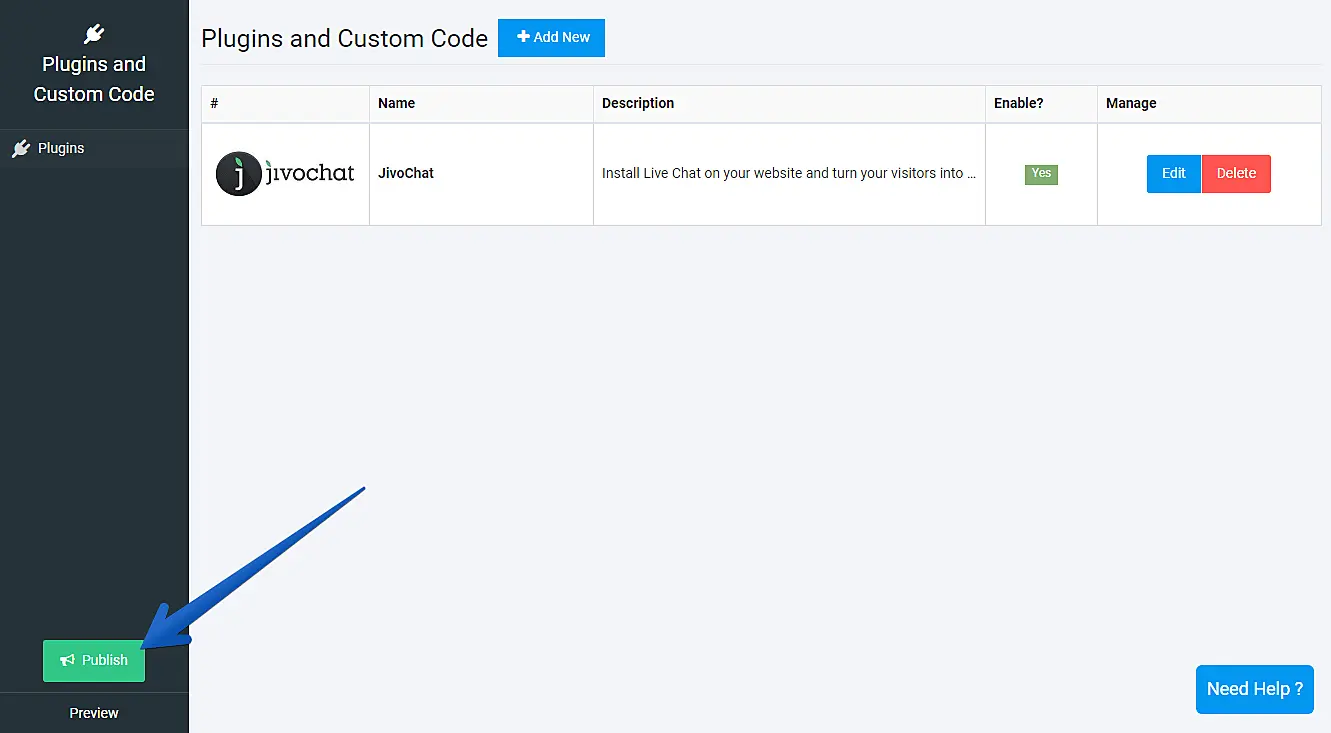
6. Don't forget to Publish the changes in order to update your website.
That's it! The chat is now available on your website.
7. Now that JivoChat is installed on your website, it's time to start working. To be online and start receiving messages from your visitors, please login on one of the JivoChat agent apps.
Check our Working in the App tutorial to learn more about our application.

